Pages

June 27, 2010

Tissue Paper Bowl

I wanted to do a little project with my daughter...something she didn't need much help with.
We took a bowl, and covered it in saran wrap - and then sprayed the wrap with cooking spray.

I gave her some mod podge and tissue paper scraps, and had her paint a layer of mod podge, and then stick a layer of tissue paper, repeating with about 4 layers. 

We let it dry for a day, and then peeled off the saran wrap.  It was beautiful!


We trimmed the edges, and now it holds her hair bands!


image signature

June 26, 2010

4th of July Jeans

I wanted to make my daughter a fun outfit for the 4th of July instead of having to buy her something.


We are going to be heading down to the Charles river to watch the famous Boston fireworks and listen to the POPS spectacular! Since we have been given so many hand-me-downs, she has enough jeans for me to ruin or improve a pair:)


So, I cut off the ends of these jeans, to make some shorts/capris.


I decided to do a star collage, and cut stars out of cardstock in a variety of sizes.


I found some red, white and blue fabric in my scraps and ironed on heat-n-bond. Then, I traced the stars onto the heat-n-bond, and cut them out.


Starting with the front of the jeans, I arranged half the stars and ironed them down, allowing the edges to hang over so that I could wrap them around the sides. Then, I arranged the other stars on the back of the jeans and ironed them down.


Finally, I opened the jeans so the sides were flat, and ironed down the overlapping edges.


Then came the hard part. I sewed around each star, along each edge that had nothing overlapping it. I used about 1/8" seam allowance.  As I got up the jean leg, it was VERY difficult. I rolled up the pant leg as far as I could and man handled it. Only broke 1 needle.


After going to all this work, I wasn’t sure if I wanted to keep the jeans as cut-offs. So, I decided to sew on a little ruffle. I cut a 30” x 2.5” piece of fabric, folded the long edge over twice, ironed it and sewed it.  This keeps the bottom edge from fraying.

Then, I made a ruffle along the other edge, and sewed it to the bottom of the pant leg.  (Sew the short ends of the long piece of ruffle fabric together.  Using a straight stitch with long stitches, sew across the top, then pull one of the threads to ruffle it up.  Pin, right sides together to the jeans and sew with 1/4" seam allowance.  Iron flat.  Compared to the rest, this part was easy!)


So, I am pretty pleased with the result. A matching shirt may follow – if I can find the time. Otherwise, I am sure it will look cute with a plain red, white or blue shirt – and my daughter will be the most patriotic of them all!


image signature

June 16, 2010

Quilted Grocery Bag Holder


I love making functional crafts.  Maybe it's because I can justify the time I spend on them:) 
I don't have very much under-sink or in-a-cabinet space, so my leftover plastic grocery bags have been overflowing from them. 
I do have a perfect little nook in my kitchen to hang these adorable bags though!  So this was a perfect, pretty solution. 
I am even going to have a holder for the white bags and one for the brown ones.  (Believe it or not, I use them for different things:} )
I used the tutorial from Moda Bake Shop - which was very easy to follow.
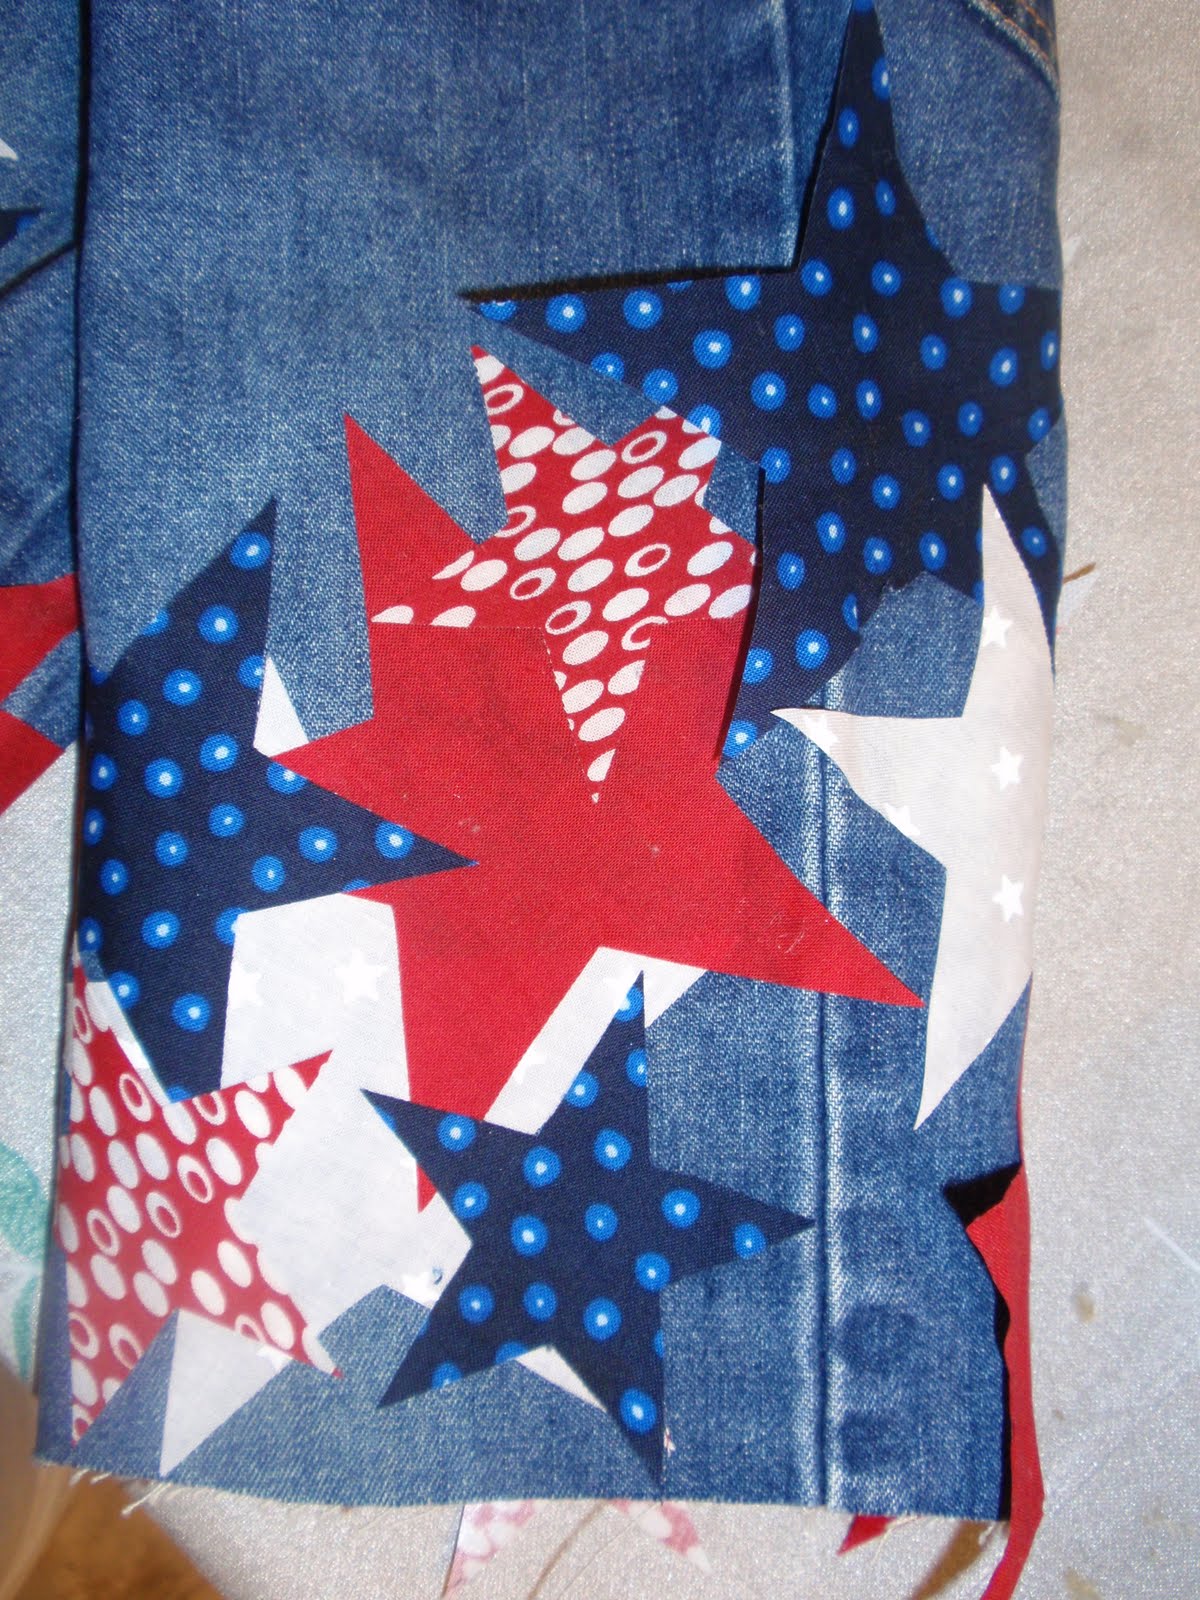
I picked matching fabric from my stash, and cut 20 - 5" x 6" pieces.  Then, I sewed them four across and four down, so that my final piece was taller than it was wide.

This was my first time doing any kind of quilting, so don't look too close.  I just did a swirly freehand pattern.  I didn't even mark my fabric beforehand. 

I loved how Moda's tutorial used a different piece of fabric, folded over and sewn, to make the top and bottom strips to hold the elastic.  It was easy, and nice to pick out a complementing color. 


Instead of using another piece of elastic for the handle, I sewed a ribbon on the top edge. 

Nice and quick!  My favorite type of sewing projects - because I like that feeling of completion:)


image signature

June 1, 2010

Silhouette Paintings of the Girls


I wanted some cute art in the bathroom, and saw this blog post with a child's silhouette.
I took a cheap 9x12 inch canvas, painted it with off-white acrylic paint and traced my daughter's silhouettes with pencil.


To make their silhouettes, I took their pictures, pasted them into a Word document, and enlarged them to fill an 8-1/2 x 11 sheet of paper. 


Then I printed them out in black and white and cut around the outline of their heads. 


I thought it looked cute with a bit of a curve at the bottom.  It actually just followed the neckline of their shirts. 
Then, I painted inside the traced lines with black acrylic paint, and voila!  Pretty fun!

image signature